
In this blog post, I will demonstrate the deploying of an OVA using PowerCLI.
Prerequisites: –
- The source of the OVA file (I will use HCIBench 2.3.1 OVA )
- A Cluster
- A Host
- A Datastore
- The VM name
For every parameters I will create a PowerCLI variable to make the things easy 🙂
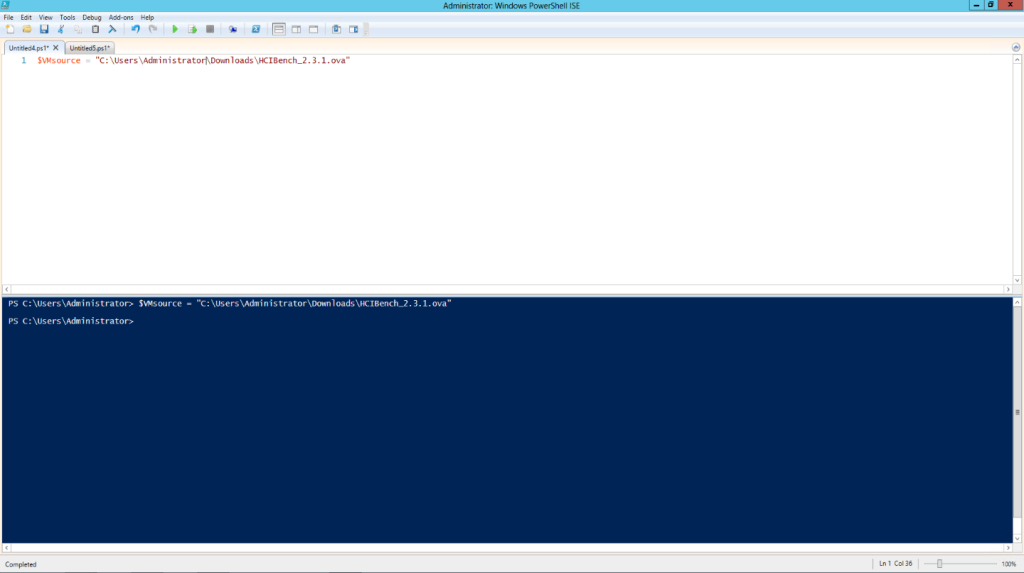
- The VM source variable ==> $VMsource
$VMsource = "C:\Users\Administrator\Downloads\HCIBench_2.3.1.ova"
2. The Cluster variable ==> $VMCluster
$VMCluster = Get-Cluster -name "Toffaha-HCI"

3. The Host variable ==> $VMHost
I will view all hosts in that Cluster , then I will select a specific one
$VMCluster | Get-VMHost
$VMHOST = $VMCluster | Get-VMHost -Name 10.60.32.55

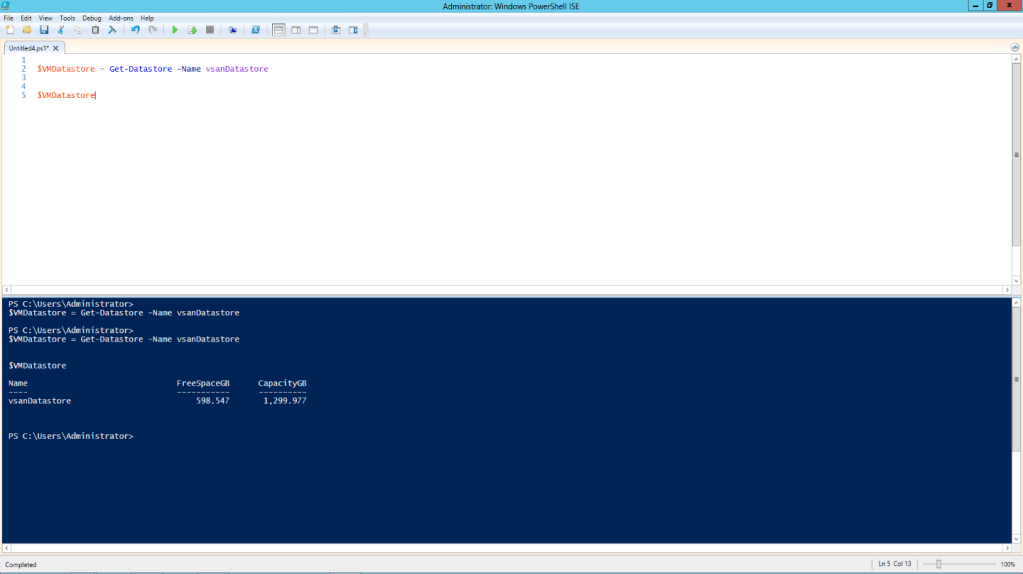
4. The Datastore variable ==> $VMDatastore
$VMDatastore = Get-Datastore -name vsanDatastore

$VMDatastore
5. The VM name variable ==> $VMName
$VMName = “HCIBench”

 $VMName

Deploy the HCIBench OVA file
we will use Import-VApp cmdlet with the 5 variables have been created.
$VMHOST | Import-VApp -Source $VMsource -Location $VMCluster -Datastore $VMDatastore -Name $VMName -Force


Leave a comment